New Year’s Eve is coming up and that means, amongst other things, some great photo opportunities. And fireworks.
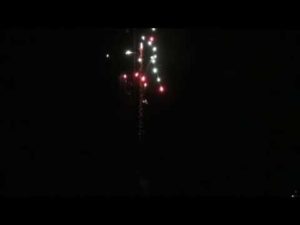
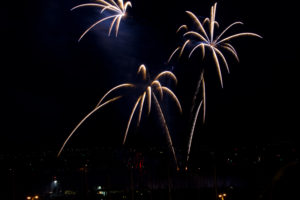
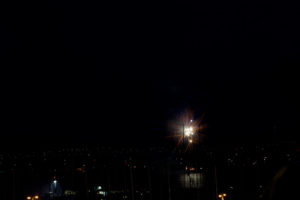
How many times have you gone to a fireworks display looking forward to getting some great photos. You’ve seen them on instagram, flickr,or somewhere else. You know what you want. You stand in the cold, take 120 images, you get home, dump them to the computer, and they look like this:
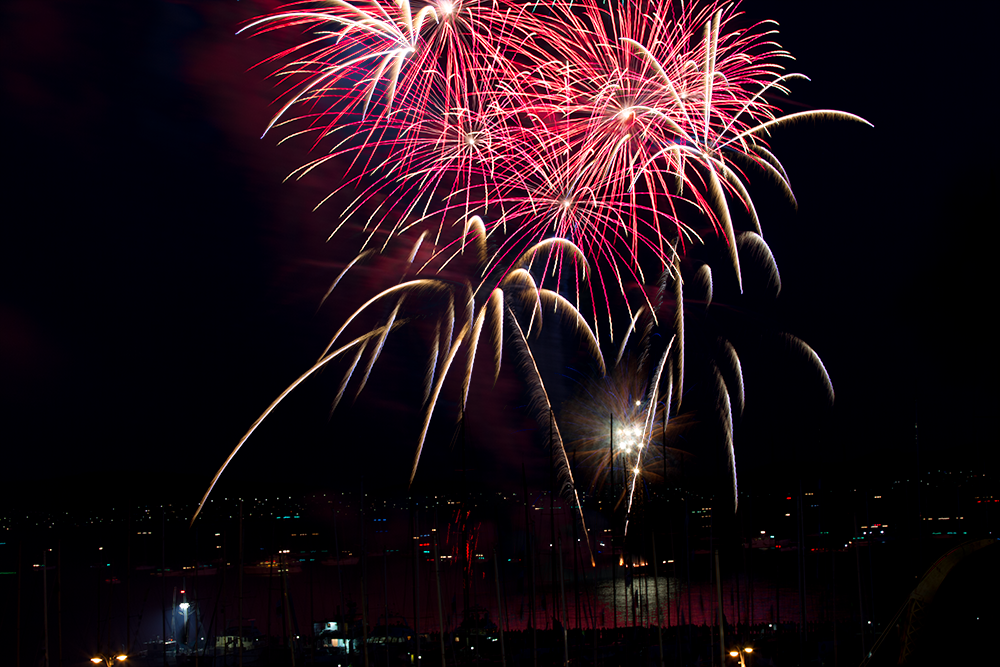
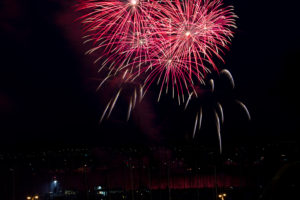
Instead of like this: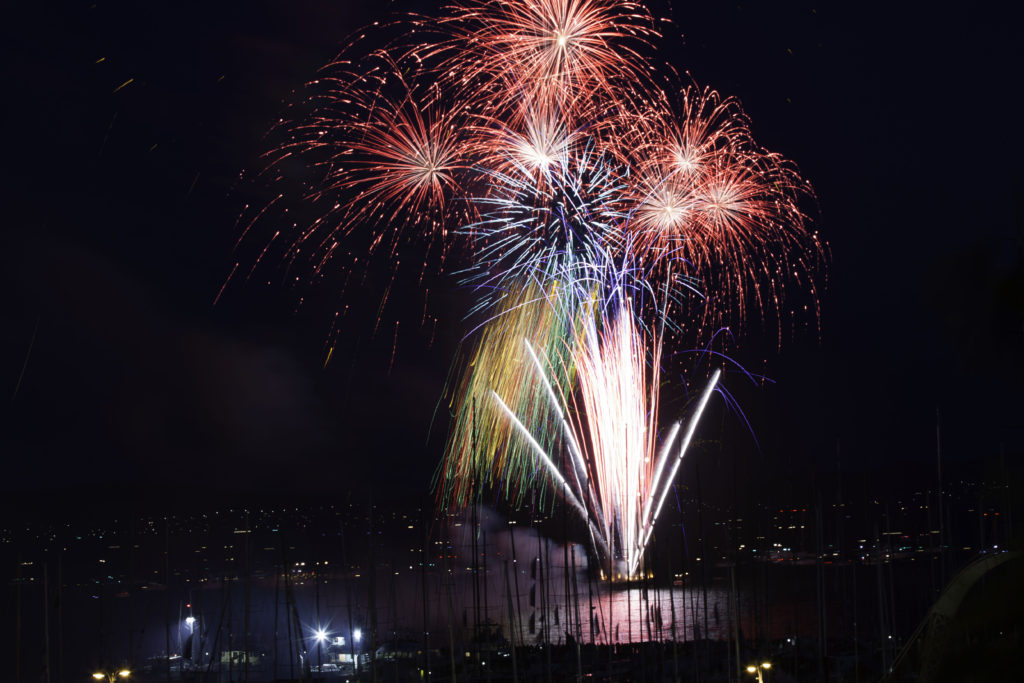
Disappointed? Of course you are. So, what happened? You saw these great fireworks, but your pictures are less than what you saw. Well, it’s not too hard to get the images you want. Here is what I use, what I do, and a tip to possibly rescue your pictures.
What I use (Gear, gear, gear).
Here is the gear I use. You don’t need these exact things, so there are lots of options to keep the cost down.
- A camera that you can use a remote release with. These days most cameras have this in some form or another. Read your manual.
- A camera with a “bulb” setting. Again, most cameras have this, but there is a way to get by without this … sort of. If you can take a 5 – 10 second exposure, then you’ll be right.
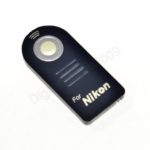
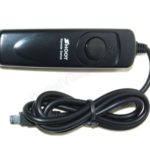
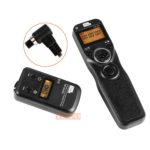
- A remote release. You can get very fancy ones, but for this you only need a simple one. Ebay has hundreds of choices for a couple of dollars each and free postage. Just make sure you get the right one that works with your camera. It’s back to the manual …
Here are some examples:
|
|
|
|
- A tripod. You really, really need one for this. You’ll be taking long exposures (several seconds) so you really, really need a tripod. Really.
Camera Settings
- Make sure the lens you use is wide enough to take in area the fireworks will be in. Wider is better, as you can always crop the image afterward.
- Set an aperture of around f8 – f11. You don’t need a fast aperture. Fireworks shows may be at night, but fireworks are very bright. Plus, as you’ll see, you’ll be taking long exposures, so a smallish aperture may help stop the image from blowing out. Plus you want a big depth of field to make sure everything in in focus.
- Set the camera to bulb mode. This will keep the shutter open for as long as you hold the shutter release down.
- Some cameras will need to have an option turned on for the remote release to work. Consult your manual.
- Set the ISO to 100. There will be lots of light in the picture, and you want to keep noise down in the dark areas. Remember, fireworks are bright!
- Set the focus to infinity and turn automatic focussing off.
- Set the image review time to 2 seconds.
Now, you’ll want to test everything before you go to the show. Don’t rely in setting everything up when you get there. You only have one chance to get it right, so you need to know how to set everything up before you get there.
Where to Setup
You need to get there well before the show and find a good place to setup. You don’t want to be too close, as you need a wide view of the sky. You also need a place that can take your tripod. And you need a place where your view won’t be obstructed and that you aren’t likely to get bumped.
Once everything is setup, take some test pictures. Having something in the bottom foreground of the image can help give the final image presence, such as the yacht masts in the photo above. If the fireworks are being set off over or along water, try to position the camera so you get some of the reflection in the water, again like the image above.
You also might consider turning the camera over to take pictures in portrait model (higher than wider). Fireworks are generally “tall and thin”, so this format matches this. Personally, however, I prefer the images to be normal landscape format. One reason is if you want to post these to Facebook, etc., they will look better wider rather than taller. But that’s just a suggestion. It’s up to you. I’ve used both formats.
Technique
If everything is setup properly, this is actually very easy to take your photos. Generally, you want to see the firework rise up, burst, and fade a bit. To take the picture, just hold down the remote release button for a while. That’s it. I know this sounds too simple, but it is. There is no set time for an exposure, as it depends on what is going on with the show. As a general guide, press the button when the firework goes off, hold it down while it rises, wait for it to burst, and then release the button when it starts to fade.
But this is just a very general suggestion. You can hold the shutter open for as long as you like. My pictures are taken with exposures of 2 to 6 seconds, but I really don’t take a lot of notice of the time. I just watch the show, press the release when appropriate, and let go when I think there has been enough fireworks for that picture. Review the first couple of shots on the camera screen as you go to make sure things are OK, and you should be able to enjoy the show without worrying too much about what the camera is doing.
Just a couple of warnings:
- Make sure autofocus is turned off! If it isn’t, it’s likely your camera will not take a picture at all as it will not be able to focus.
- While there is no set time for the exposure, make sure it’s not too long. Fireworks are colourful, but the colour will be muted if you try to catch too much in the one shot.
- But at the same time, don’t make the exposure too short. Don’t be afraid to leave the shutter open for 5 – 10 seconds.
All this sounds very random and imprecise. Well, it is. You don’t need or want precision here. Firework shows are, by their nature, very random. After you take the first couple of shots you’ll get a feel for the rhythm; where the fireworks are launching from, how high they will rise, and when they will burst. You might need to make some small adjustment to where your camera is pointing during the first couple, but if you use a wide lens and keep back a bit, you should be right.
Post-processing and fixing those “thin” images
Once you’re back and you’ve got your pictures on your computer, you can fiddle a bit to make them look better (I use Lightroom for this):
- Adjust highlights and blacks to improve the overall look.
- Fireworks generate smoke, and this builds up during the show. You can dial this back by adjusting the black level, or by using the dehazing feature in Lightroom.
- Vibrance and saturation help bring up the colours.
It’s really up to you how much adjustment you do.
Now, what about the images that don’t have much in the way of fireworks in them. You didn’t hold the shutter open for long enough, or misjudged when things would happen. You look at these images and initially think they are duds. Well, that’s not necessarily true. While any particular image might not look good, if only there was some way to add them together into one image…
Well, if you have Photoshop, there is a very, very easy and very, very quick way to do this. Look at these three images (and yes; these are mine):
They’re not bad. Lots of colour. Framing could be a bit better. But they lack a certain … excitement. What can we do to fix this? The obvious thing is to add the image together somehow. Photoshop can do this. Put each image in a separate layer, and then fiddle with the opacity of the layers above the background so each layer shows though:
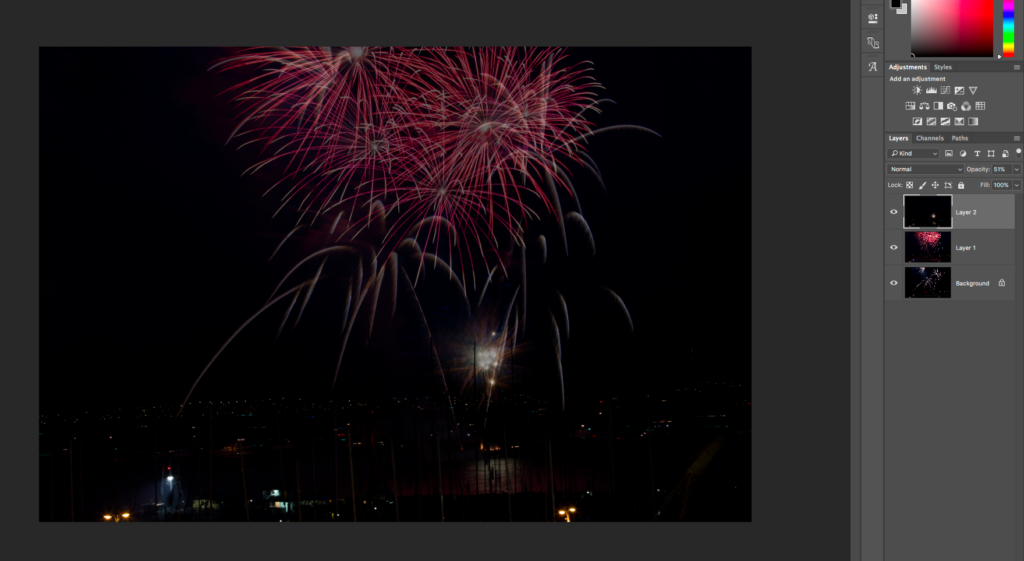
Well, that sort of works. Sort of. You’ve added all three images, and you’ve combined them into one, but the result is a bit dull. The colours are muted, and the brightness is low compared to the originals.
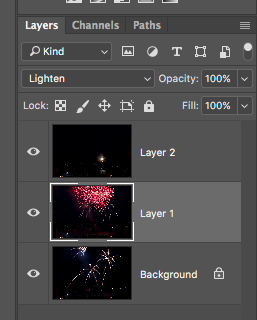
How to actually do this is in the layers panel.
Leave the opacity for all layers at 100%, but for the layers above the background (here labelled ‘Layer 1’ and ‘Layer 2’ because I was too lazy to name them) set the blend mode to ‘Lighten’.
What’s this doing? Well, as far as we are concerned for these images, the lighten blend mode keeps all the points in a layer that are lighter than the ones in the background layer (in other words, the fireworks), and discards the rest of the image on that layer. So, we get to keep the bright fireworks, but discard the dark night sky. The result is much better: